Enhance Guest Phone Footage Before It Goes Into the Wedding Film
· ClapClip Team · 6 min read
The couple wants the clip their friend shot of the first dance in the film. It was recorded on a phone, under string lights, with the sensor cranked up, and it sits in the timeline next to a 4K camera with a fast lens. You cannot reshoot it, and you cannot leave it out. What you can do is make it look like it belongs.
This guide is for the Windows app. Video enhancement runs in ClapClip for Windows; the online image tool on this site handles single stills only.
Key takeaways
- Denoise before you sharpen or upscale. Low-light phone footage is grain first; sharpening grain makes it crisp grain.
- Match the A-camera, don't chase 4K. A 1080p guest clip in a 4K timeline looks better upscaled to 4K than stretched by the editor, but a 480p clip should stop at 1080p.
- One folder, one batch. Set the options on the hardest clip, then queue the rest with the same settings.
- Client footage stays on your PC. The app processes locally; nothing from the wedding is uploaded.
Why do guest clips look worse than they are?
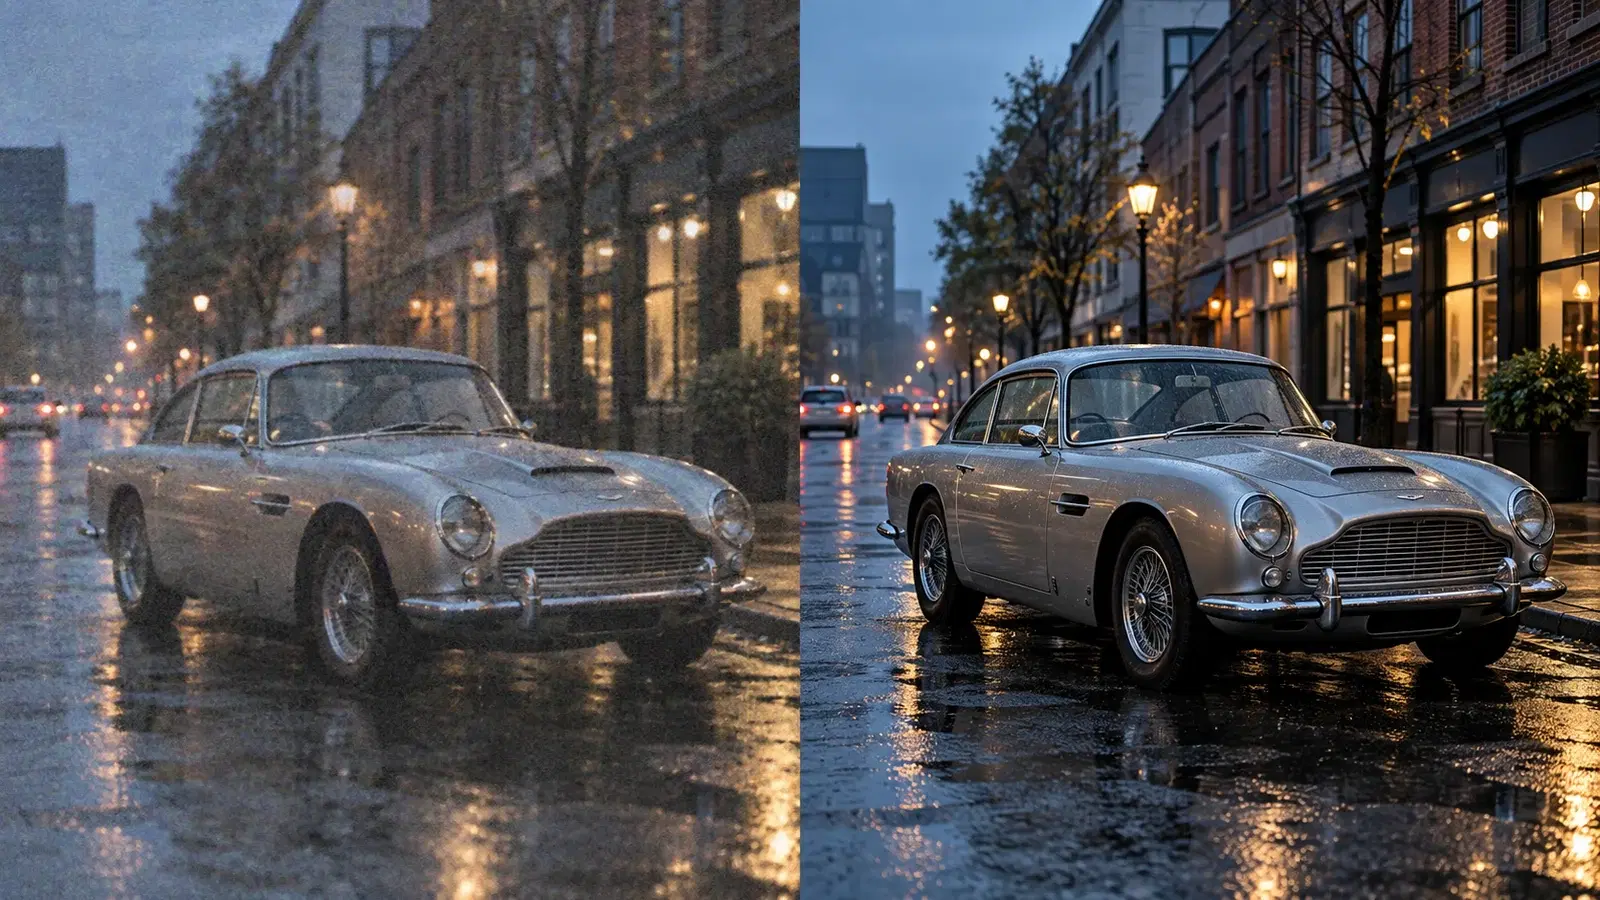
Three things happen at once at a reception. The room is dark, so the phone raises its sensor gain and the image fills with noise. The phone then compresses hard to keep the file small, so the noise turns into smeared blocks. And the lens is tiny, so faces across the room are soft to begin with. None of this is motion blur or focus error; it is a clean image buried under grain and compression.
That matters because the fix is in a specific order. Remove the grain and the blocking first, and the detail underneath is usable. Sharpen or enlarge first, and you have enlarged the grain.
Rule: if the clip looks noisy at 100%, denoising is the first pass, whatever else it needs.
What order should the passes run in?
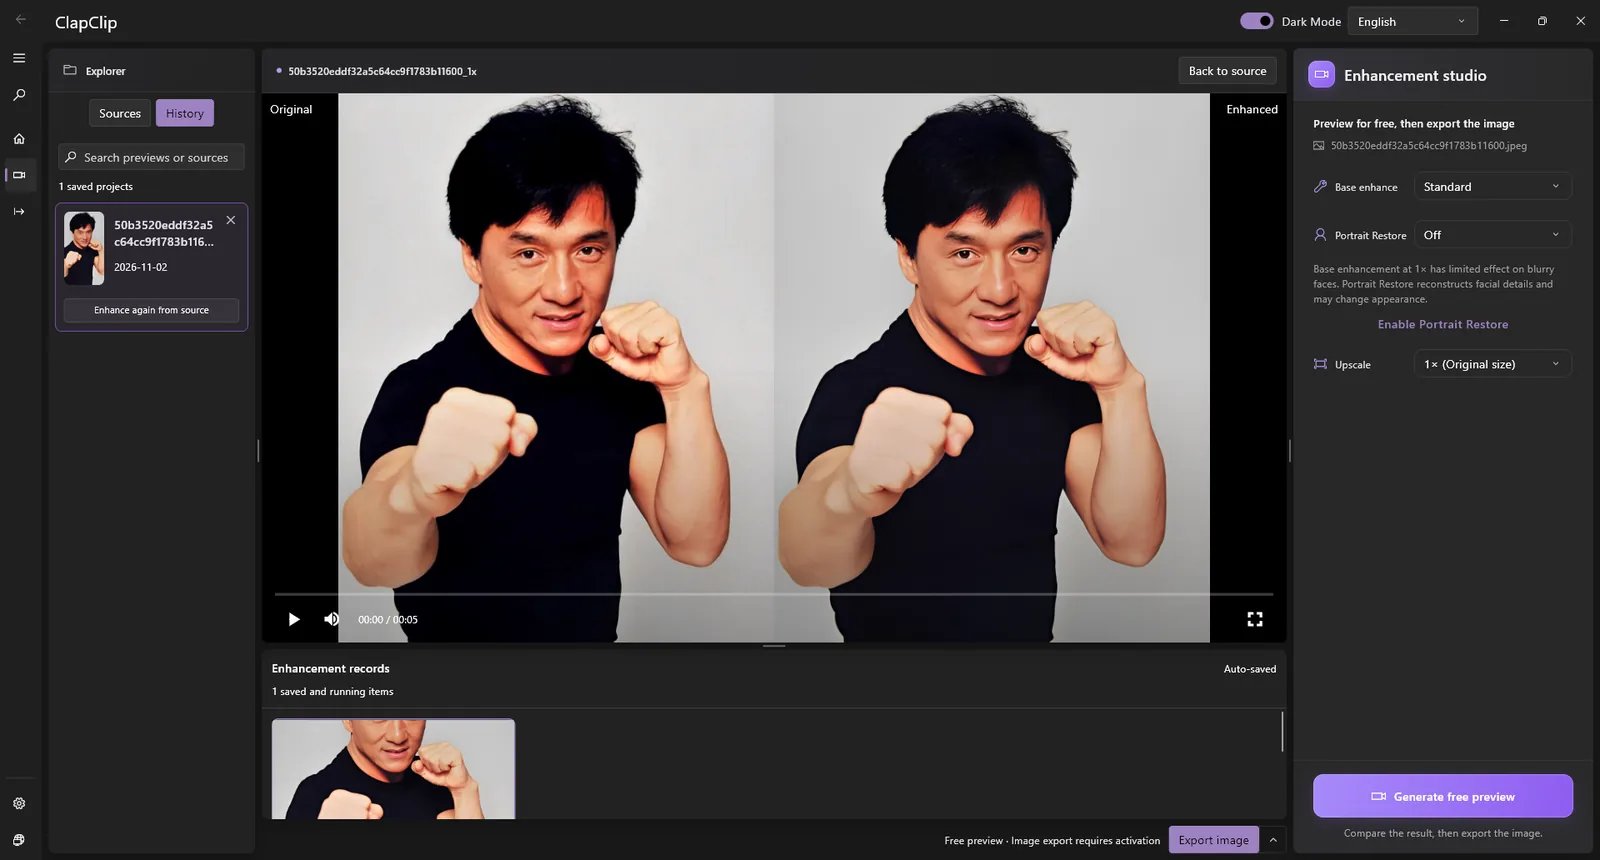
- Denoise. Start here on every low-light clip. Judge at 100% on a face and on a plain wall: the wall should go smooth without the face turning to plastic.
- Mode. For a clip where faces fill the frame, a toast or the vows, Portrait mode is tuned for skin and eyes. For a wide dance-floor shot, General mode treats the whole frame evenly. The mode applies to the entire clip, so pick by what matters most in that clip.
- Upscale to the timeline resolution. If the film is 4K and the guest clip is 1080p, let the enhancer take it to 4K rather than having the editor stretch it. If the clip is 720p or lower, 1080p is the honest target; 4K from 720p asks the model to invent three vertical pixels for every one it has.
- Preview a representative section. Not the opening seconds: the darkest shot, the fastest movement, the moment someone walks through the frame. If that section passes, the clip passes.
Rule: change one thing at a time between previews. If denoise and upscale both change, you cannot tell which one caused the smear.
Why is a long reception clip practical here?
A reception clip can run ten minutes. Enhancers that run the model on every single frame make that an overnight job on a mid-range laptop, which is why many editors only enhance a few seconds.
ClapClip does not process every frame. It enhances keyframes and reconstructs the frames between them from the motion between frames, so the model work per second of video is a fraction of frame-by-frame processing, and a long clip on a mid-range NVIDIA, AMD or Intel GPU is a wait, not a night. A speech shot from a tripod, where almost nothing changes between frames, is the best case; a handheld dance-floor pan shares less between frames and takes longer. The video enhancer page explains the method.
The same keyframe approach keeps the result consistent across a shot: frames reconstructed from one keyframe inherit the same detail, so skin and fabric do not shimmer from frame to frame the way they can with independent per-frame processing.
How do you run a folder of guest clips?
Gather the clips into one folder. Choose the settings on the hardest clip, the darkest or the noisiest, and preview it until it passes. Then queue the folder with those settings and let the GPU work through it. Batch mode applies one set of settings to every file, so a folder that mixes a bright outdoor ceremony and a dark reception is really two batches.
Processing time depends on clip length, resolution and your GPU. A dedicated card with 4 GB of VRAM handles 1080p comfortably; 8 GB or more gives headroom for 4K output. Audio tracks are kept, so the enhanced file drops back into the timeline in place of the original.
Rule: sort the folder by lighting before you batch, not by guest.
Does any of the wedding leave your PC?
No. The app processes video on your own hardware through DirectML, so the couple's footage is not uploaded to a shared GPU queue, and there is no per-file meter deciding how much of the reception you can afford to clean up. For client work that is the point: you are not asking the couple whether their friends' videos can sit on a third-party server.
The online image tool on this site is a separate service that uploads stills for processing; its privacy page covers it. Keep video in the app.
What can't enhancement fix?
- Real motion blur. A phone swung across the dance floor is blurred in the frame itself. Denoising cleans it; it does not un-blur it. Cut around it.
- Clipped highlights. String lights and a white dress blown to pure white have no detail to recover.
- Rolling shutter wobble. That is a stabilization problem for your editor, before enhancement.
- Frame rate mismatches. The enhancer keeps the original frame rate; a 30 fps phone clip in a 24 fps timeline is a conform question, not an enhancement one.
Checklist before delivery
| Step | What to check |
|---|---|
| Denoise | Plain surfaces smooth, skin still textured, at 100% |
| Mode | Portrait for face-filled clips, General for wide shots |
| Resolution | Matches the timeline; 720p and below stop at 1080p |
| Preview | The darkest and fastest section, not the opening |
| Batch | One lighting condition per batch, same settings throughout |
| Audio | Original track present in the enhanced file |
Related guides
- Fix blurry video covers the difference between noise, focus blur and motion blur.
- GPU settings for video enhancement explains what VRAM and resolution do to render time.