Upscale 720p Stream Recordings and Old VODs to 1080p
· ClapClip Team · 5 min read
A channel's early VODs were captured at 720p because the upload connection could not take more, or recorded at a bitrate that turned every explosion into blocks. The gameplay was fine; the capture was not. Re-uploading highlights from that era, or cutting them into a retrospective, means dealing with footage that looks worse than anything you record today.
This guide is for the Windows app. Video runs in ClapClip for Windows; the online image tool on this site takes single stills, which is useful for a thumbnail but not for a VOD.
Key takeaways
- Screen content is text and edges. The biggest visible win on a VOD is sharp UI, chat and subtitles, not more texture on the ground.
- Clean the compression before you enlarge it. Blocking and mosquito noise around text get bigger with everything else.
- Stop at 1080p. 720p to 1080p is a 1.5× step the model can fill; 720p to 4K is 3× and the model invents most of it.
- Batch the season. One settings pass, one folder, run overnight on the GPU you already stream from.
Why do old captures look worse than the game did?
Two reasons, and they need different fixes. Capture resolution: a 720p recording has half the pixels of 1080p, so text and HUD elements that were crisp on your monitor are soft in the file. Bitrate: a low-bitrate encode spends its bits on movement and starves the fine edges, which is why text sprouts a halo of noise and dark areas turn into bands.
The game itself rendered at whatever your GPU ran then; the file just failed to keep it. That is good news for enhancement, because the structure is still there under the compression.
Rule: if text looks fuzzy, it is resolution; if text has a buzzing halo, it is compression. Most old VODs have both.
What should run first on a VOD?
- Remove compression artifacts. Blocking, banding and the noise around edges go first. Judge at 100% on a block of chat text and on a dark loading screen: the text halo should disappear and the banding should smooth without the text going soft.
- Sharpen. Screen content is dominated by edges, and this is where the enhancer gives the most visible improvement: aliased UI and subtitles come back crisp.
- Upscale to 1080p. Set the output to 1080p, not 4K. A 720p source has 720 lines; 1080p asks for 1.5× as many, which the model can fill convincingly. 2160p asks for 3× and the result looks invented, especially on text.
- Preview a hard section. A fight with particle effects, a fast camera spin, a scene change. Fast motion shares less between frames than a menu screen, so that is where the result and the processing time are decided.
Rule: judge screen content on text first. If the text is right, the rest usually is.
What about the webcam overlay?
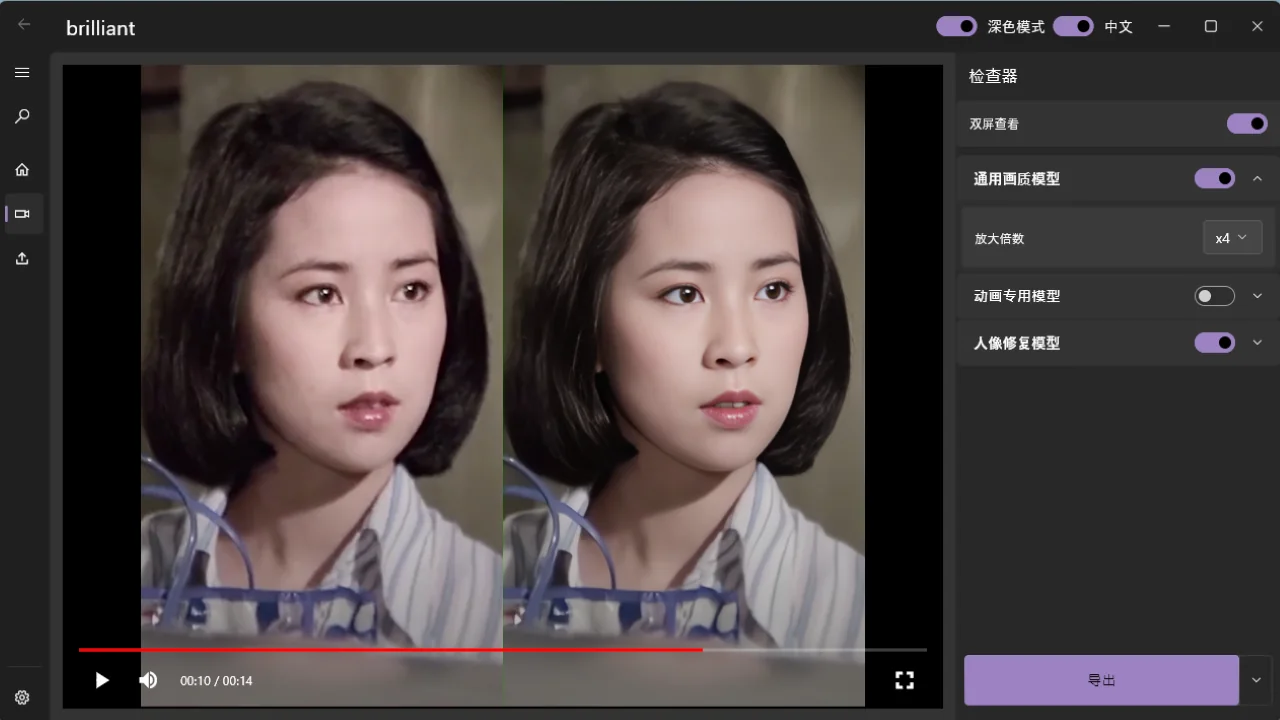
Most VODs have a face in the corner. The mode applies to the whole frame, so a choice has to be made: General mode treats the game and the overlay evenly; Portrait mode is tuned for skin and eyes and will favor the webcam. For a gameplay-first retrospective, General is the usual choice. For a reaction compilation where the face is the content, test Portrait on a section and compare at 100%.
If you still have the separate webcam and game recordings, enhance them separately with the right mode each and recomposite in your editor.
How does the keyframe method behave on game footage?
ClapClip does not run the model on every frame. It enhances keyframes and reconstructs the frames between them from the motion between frames, which is why a two-hour VOD is practical on a mid-range NVIDIA, AMD or Intel GPU instead of an all-night render. The video enhancer page describes how it works.
Game footage is a mixed case for this. Menus, dialogue and a locked camera share almost everything between frames and go quickly. A fast spin, a screen full of particles or a cut shares little, and the pipeline enhances more frames directly there, so a frantic shooter takes longer than a strategy game of the same length. The upside is consistency: frames reconstructed from one keyframe inherit the same detail, so HUD text does not flicker from frame to frame the way it can with independent per-frame processing.
Rule: estimate time from the busiest ten minutes of a VOD, not the quietest.
How do you run a season?
Put the VODs in one folder, choose settings on the worst-looking one, preview until the text passes, then queue the folder. Batch mode applies the same settings to every file, which is what you want for recordings from the same capture setup. Keep the original frame rate; the enhancer does not change it, and 60 fps gameplay should stay 60 fps.
Processing time depends on clip length, resolution and your GPU. A dedicated card with 4 GB of VRAM handles 1080p output; for a long queue, more VRAM gives headroom. Nothing is uploaded, so a terabyte of VODs is a disk-space question, not a bandwidth or per-file-credit one.
What won't improve?
- Stream overlays baked at low resolution. A 720p overlay graphic upscaled is still a 720p graphic; replace it in the edit if you have the source.
- Dropped frames. A stutter in the capture stays a stutter.
- Audio. The audio track is kept as it was; desync or clipping belongs to your editor.
- Clipped blacks. Dark scenes crushed by the encoder have no shadow detail to recover; denoising smooths them, it does not restore them.
Checklist
| Step | Target |
|---|---|
| Artifacts | No halo around chat text, no banding on dark screens |
| Sharpen | UI, subtitles and HUD crisp at 100% |
| Resolution | 1080p from 720p; keep 1080p sources at 1080p |
| Mode | General for gameplay, Portrait only when the face is the content |
| Frame rate | Unchanged |
| Preview | The busiest section, judged on text |
Related guides
- Upscale video to 4K explains when a 4K target is justified and when it is not.
- GPU settings for video enhancement covers VRAM, resolution and render time.